
Getting Started
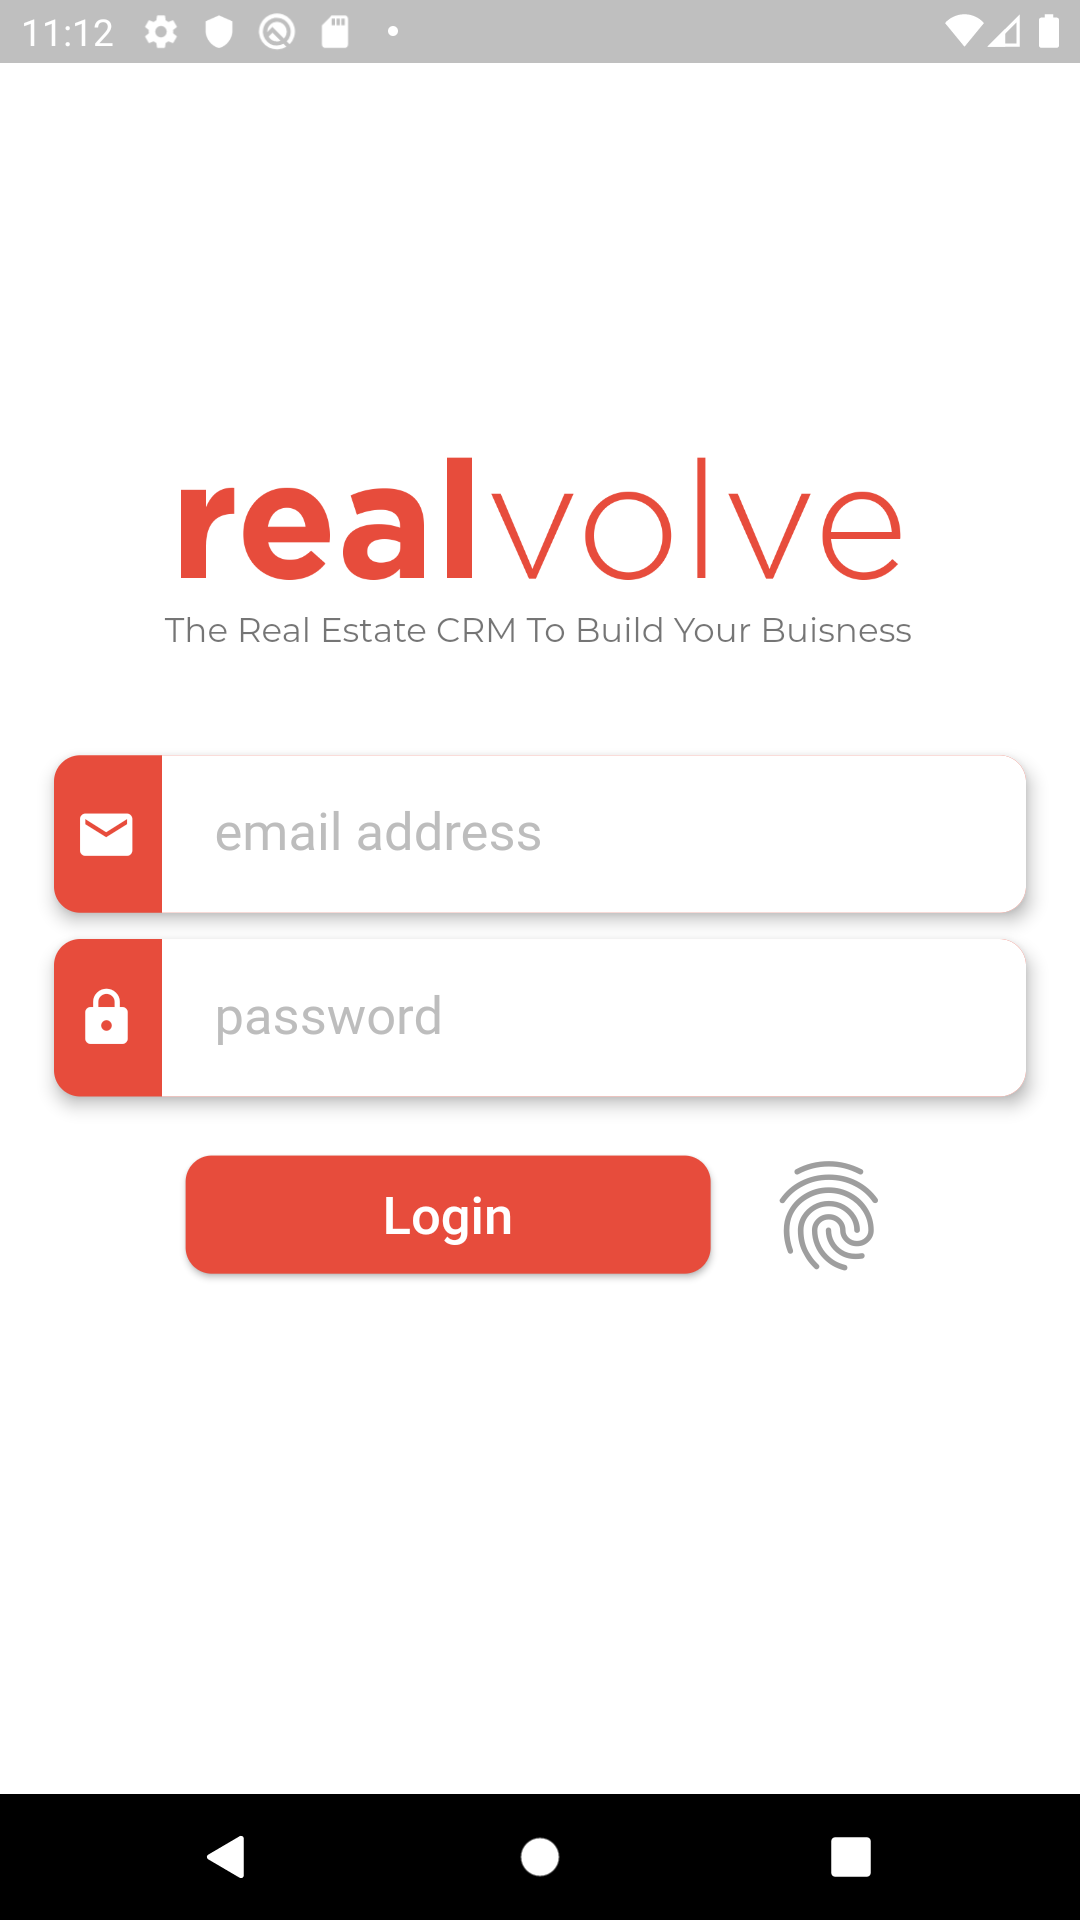
Login
Enter the email address and password that is used in the main web application of Realvolve. Once you have logged in the first time you can go into the Realvolve mobile app settings and turn on biometric settings to allow fingerprint or facial recognition to login automatically.
Main Menu
Used to access the major sections of the Realvolve software.
- Dashboard: Access to the contact cross section and other details about your data. The dashboard will continue to get improvements over the next few months.
- Contacts, Calendar, Properties & Transactions: Access to each of the main data sections of the Realvolve system. Each section is color coded to help in navigation.
- Slide-out menu in upper left to access all features including Settings for biometric login, Coming Soon List and Logout.
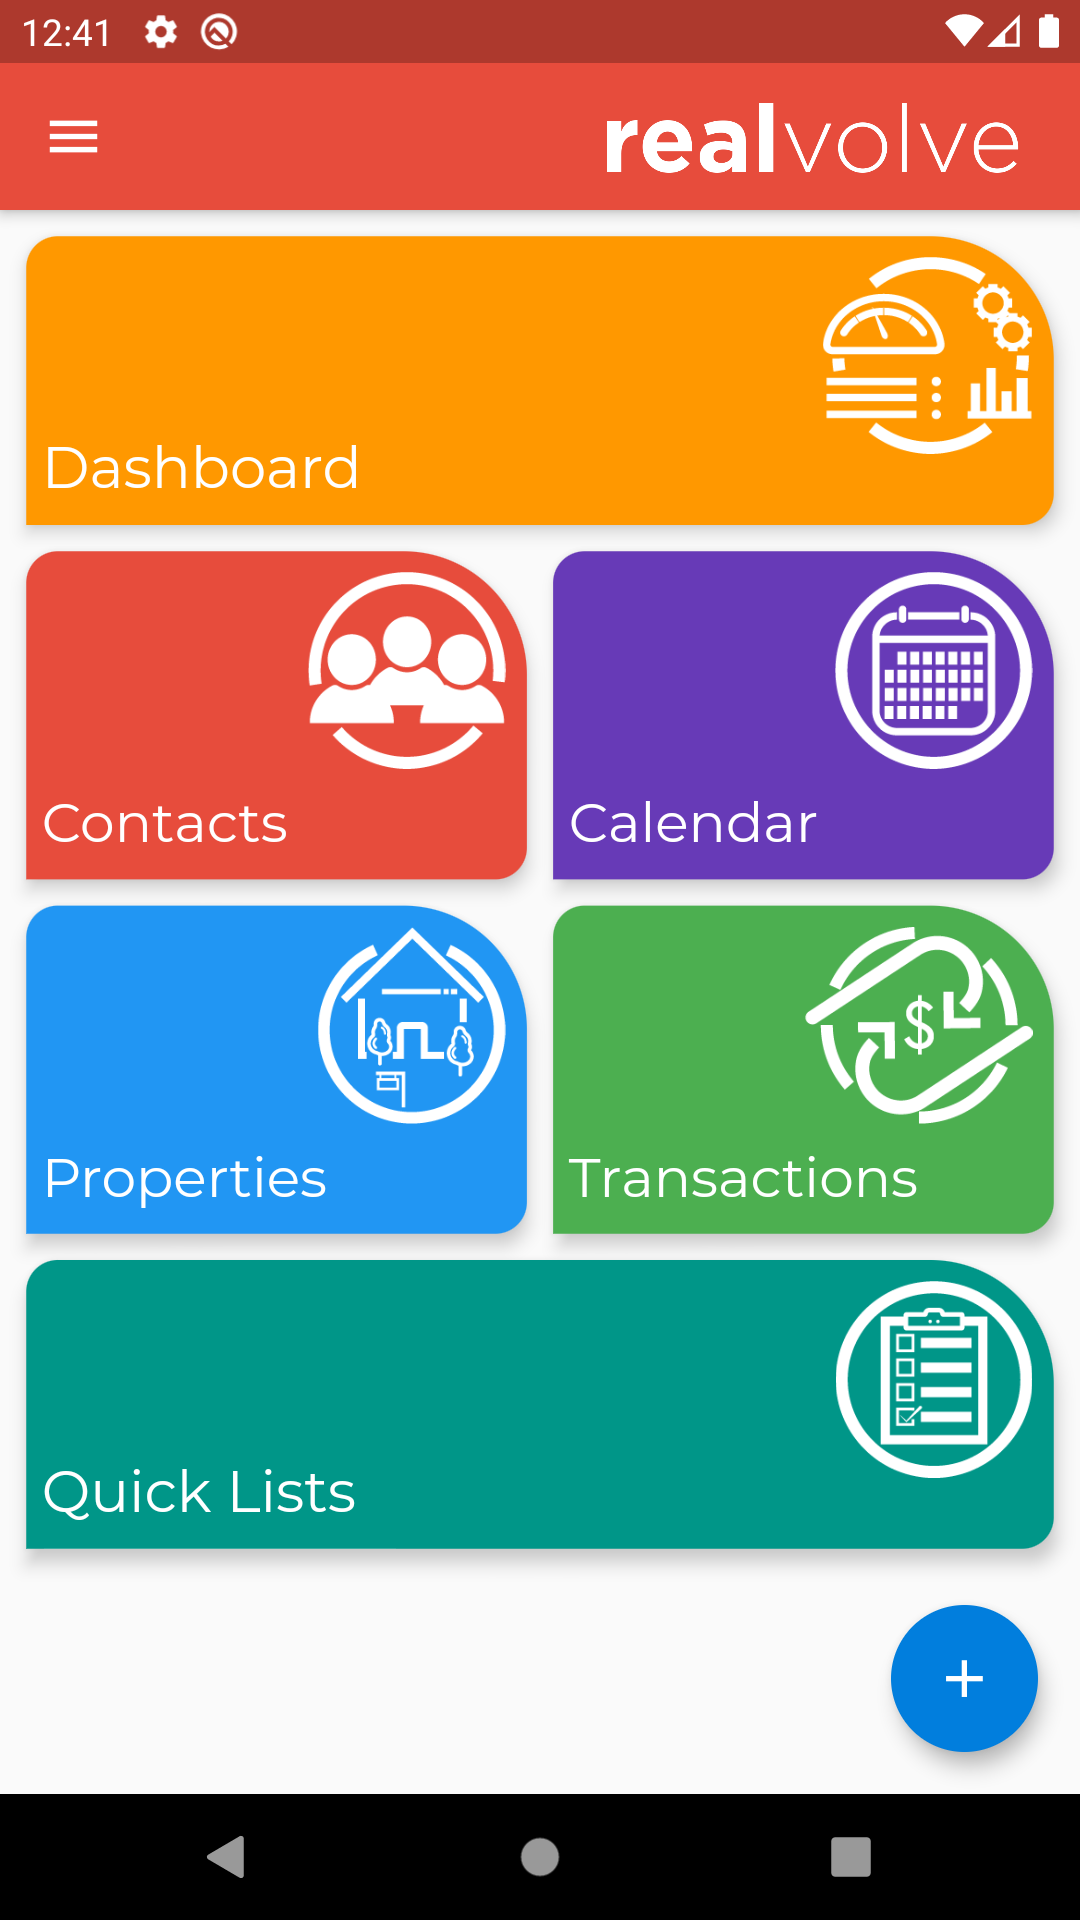
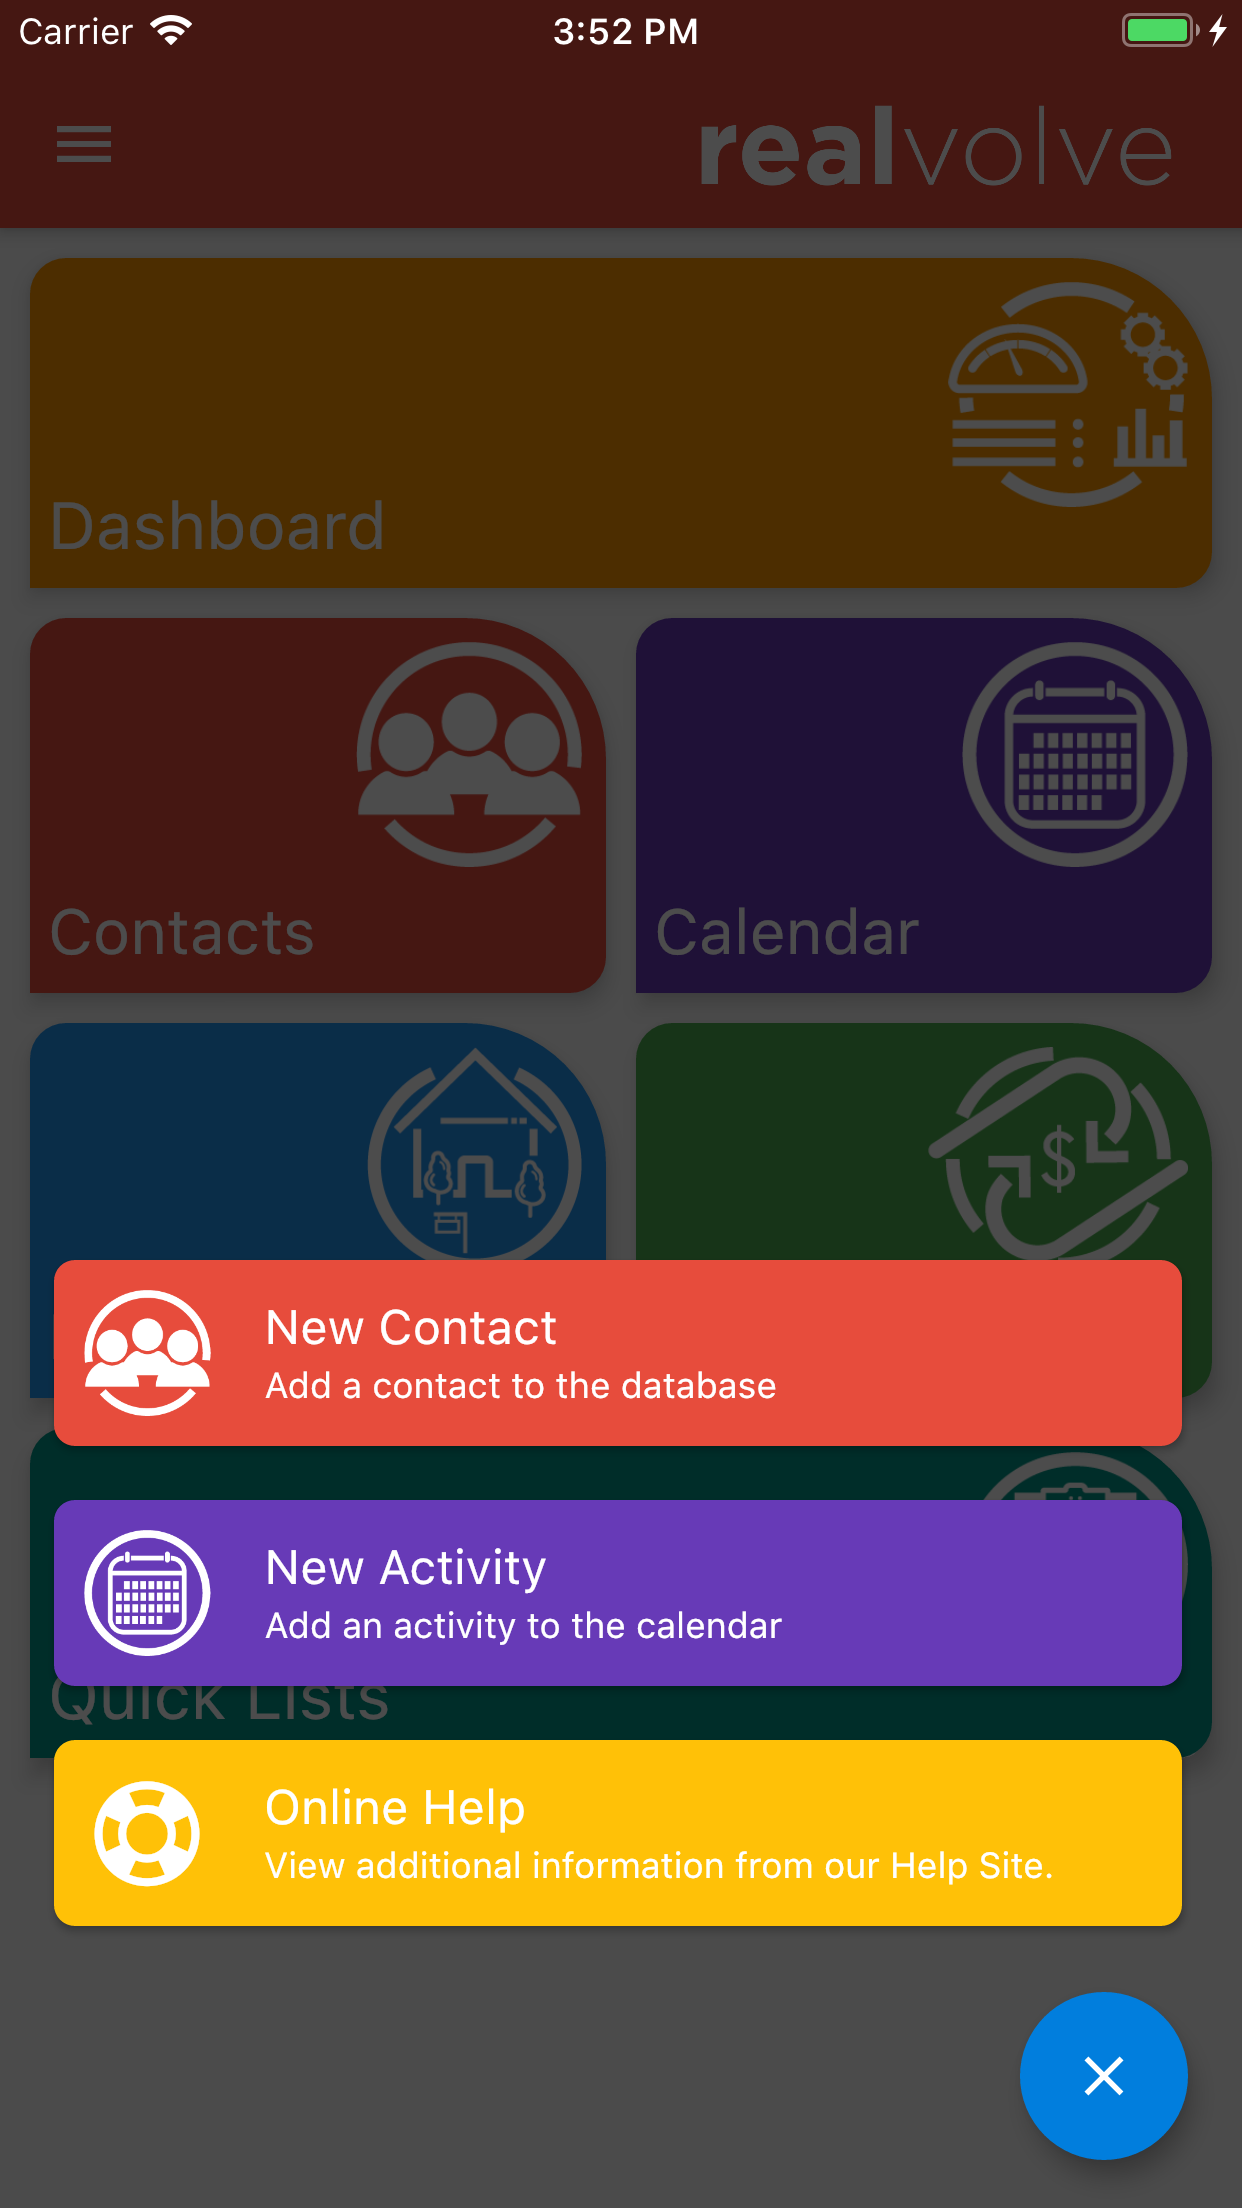
- The blue floating action button in the lower right corner is used to Add Contacts, Calendar Activities or View Online Help is located in the lower right. Select from one of the menu items or click the Circle X button to close the menu.
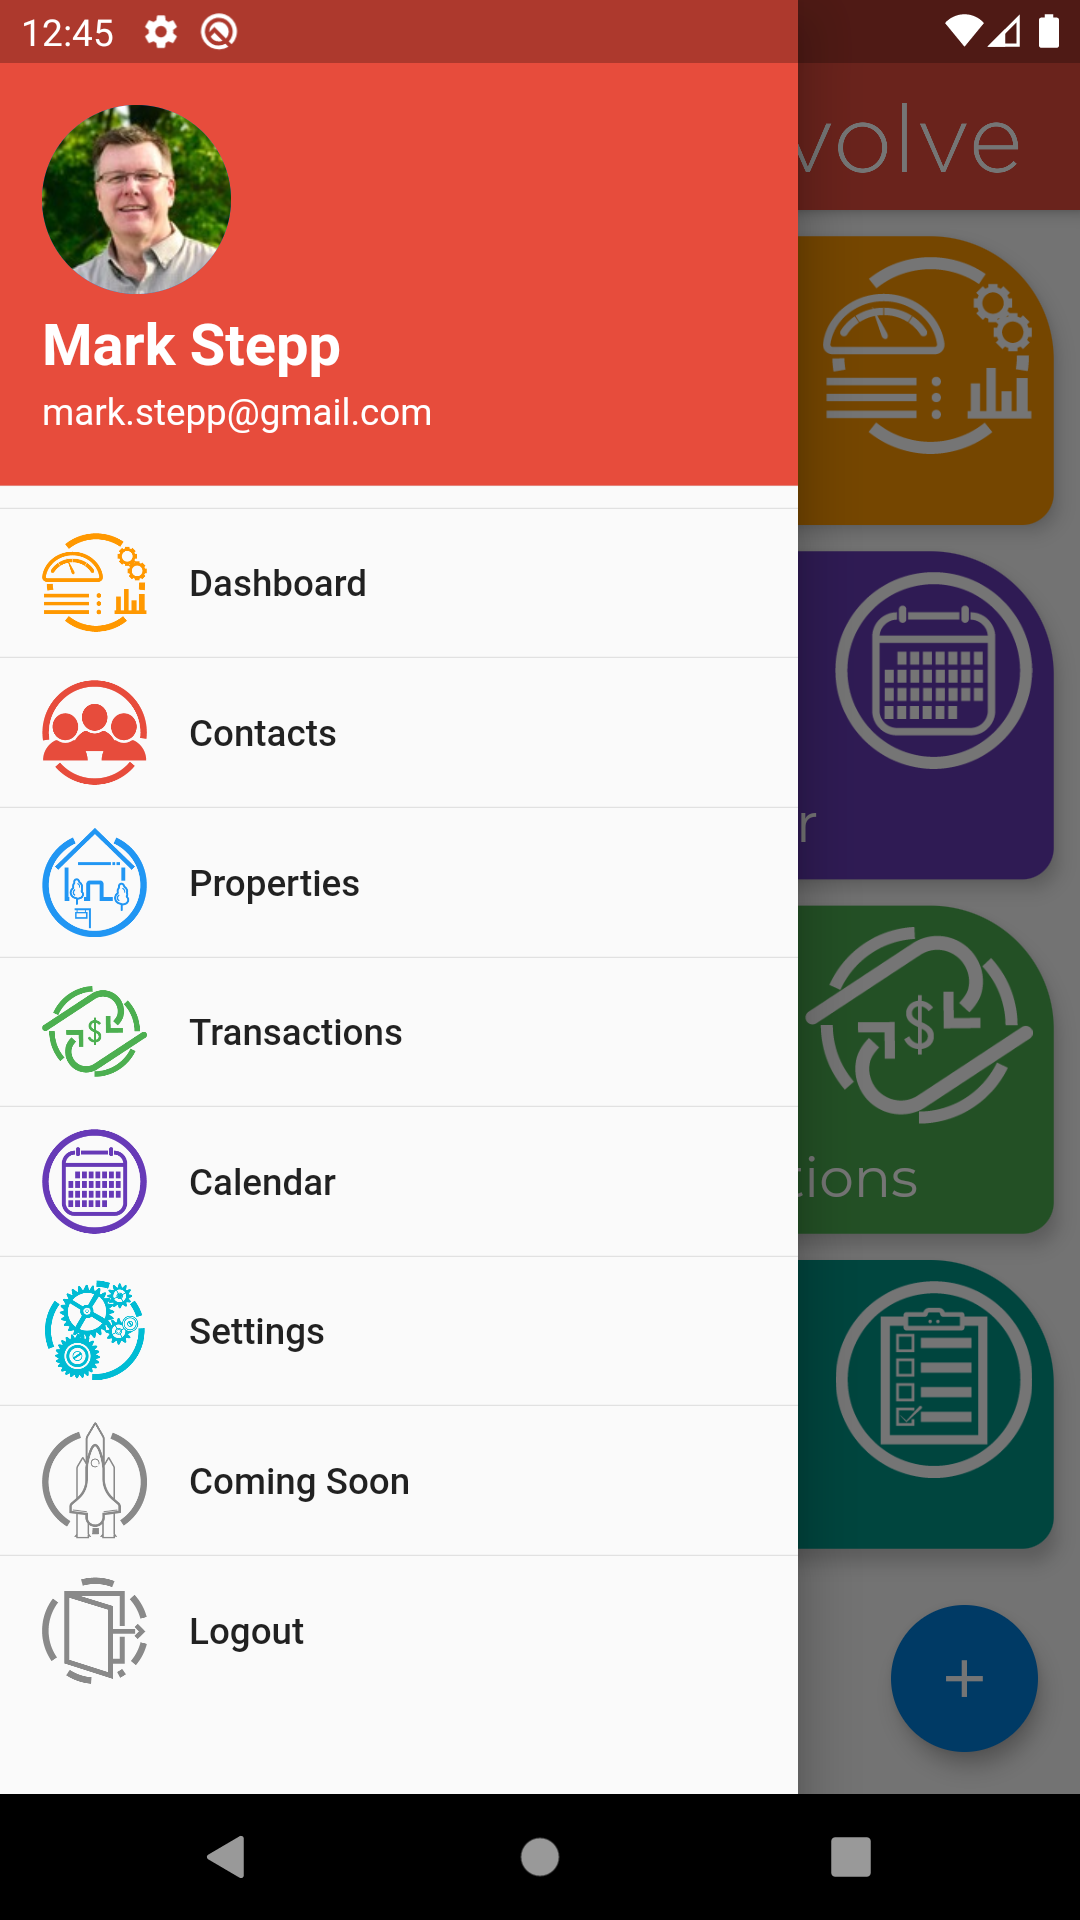
Slide-out Menu:
Display additional menu items from the upper left menu button. This allows you to access the dashboard, main databases of Contacts, Properties, Transactions as well as the calendar. The Settings sections contains a setting to turn on/off biometric login for Fingerprint or Facial Recognition and the ability to logout.
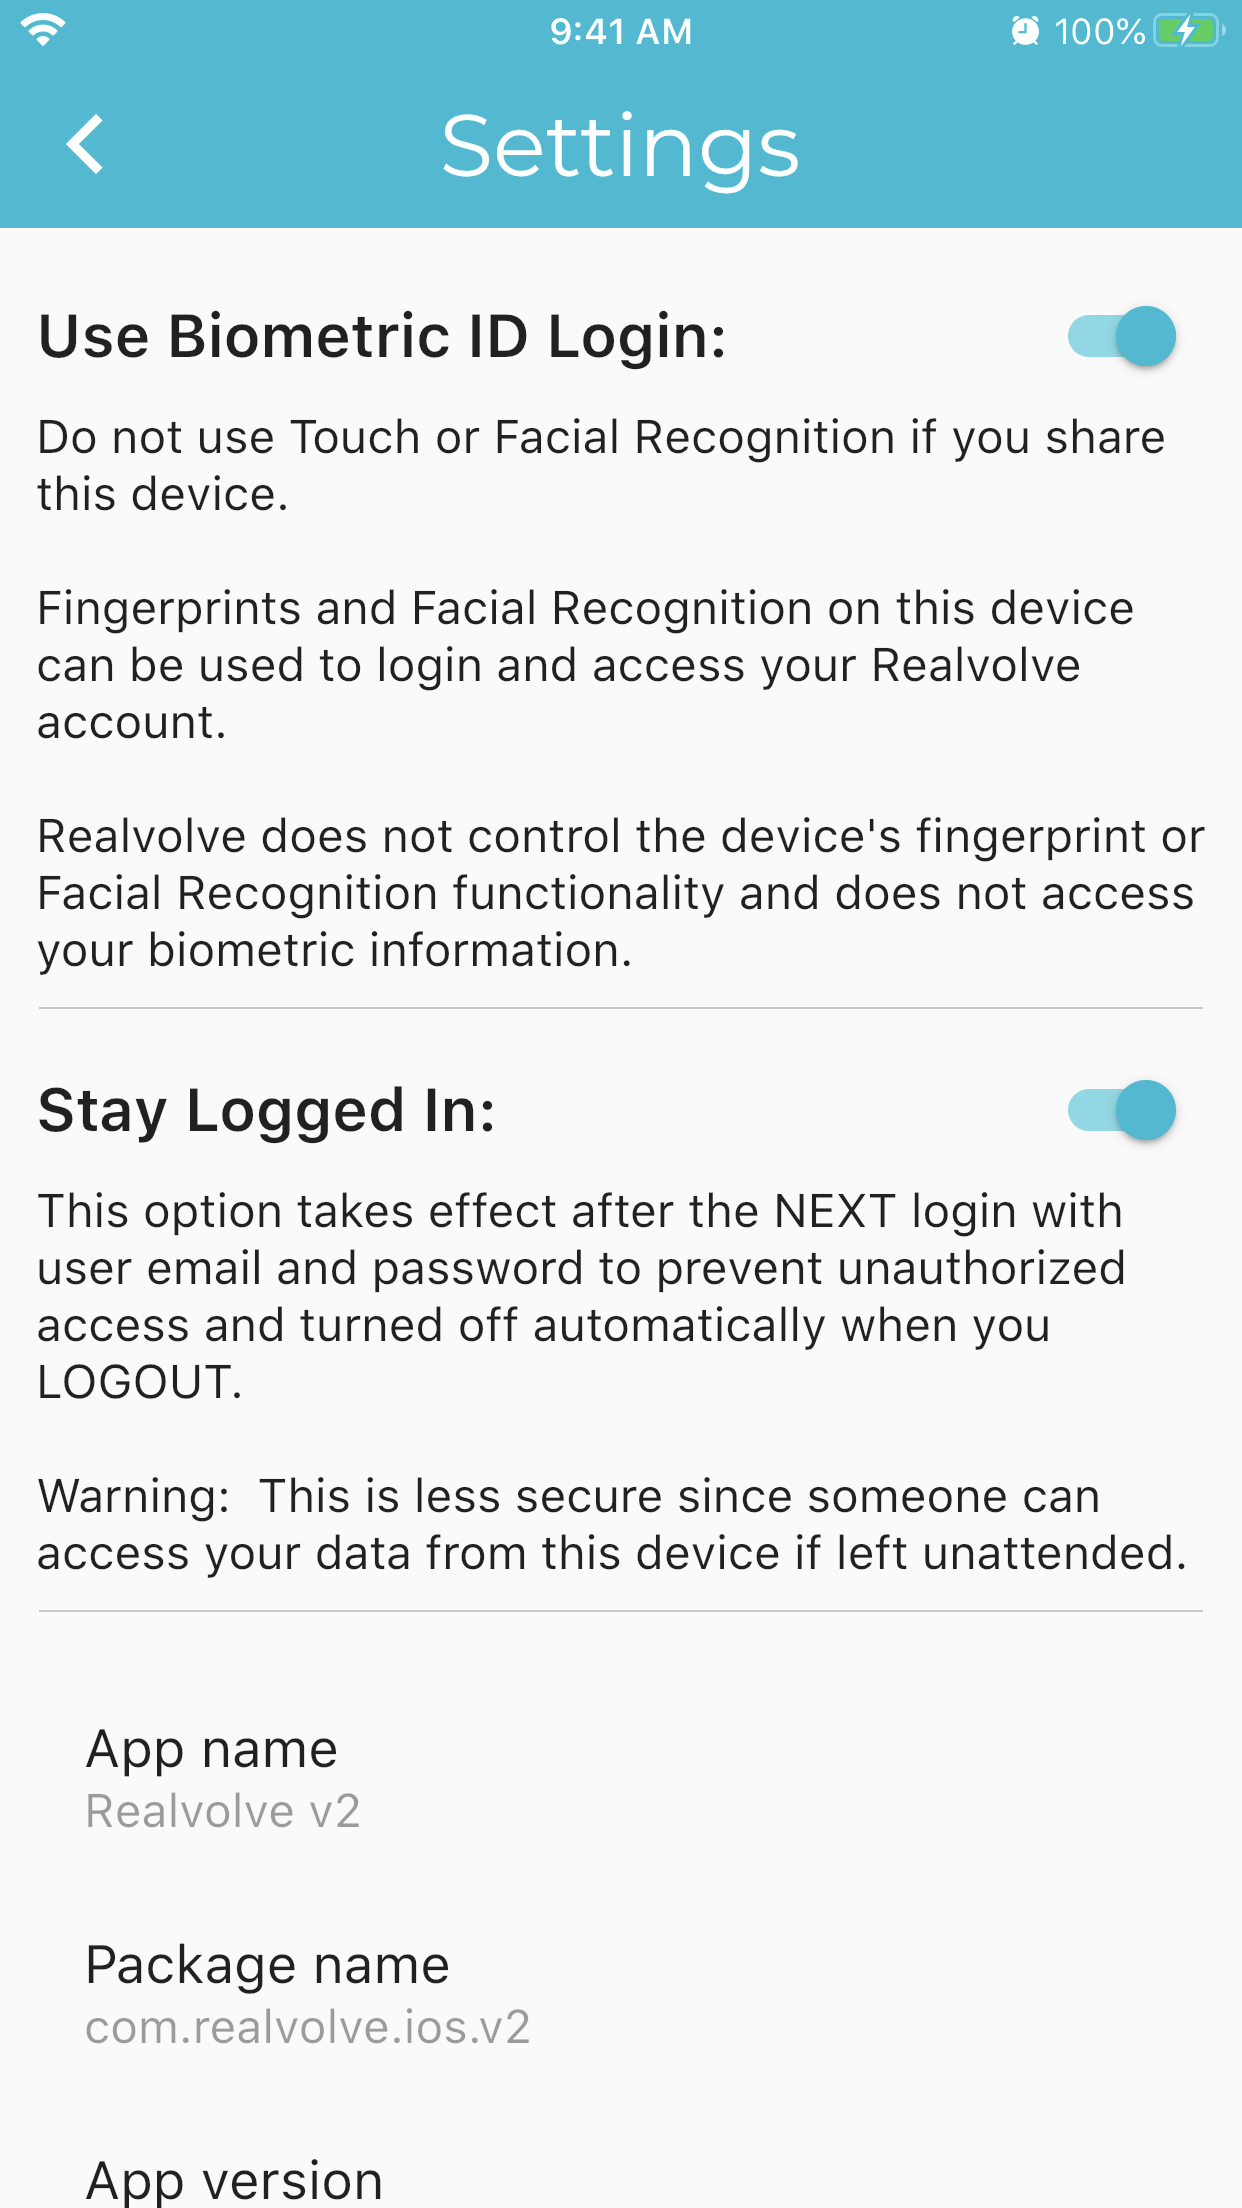
Settings: (v2.0.5)
Click the settings menu choice in the slide out menu to display options for using Biometrics (Facial or Finger print login), as well as Stay Logged In which will automatically log you in if the app is closed without logging out. It’s important to know that for security reasons, once you turn on “Stay Logged In” the app must be logged in one more time before it keeps you logged in. If you choose “Logout” then the app will disable the “Stay Logged In” setting and require additional logins.
Gestures:
Some fields have the ability to do special actions by pressing down and holding on the field or icon instead of a simple tap. A list of these fields are included below.
- Long-Press Gestures:
- List Views (Contact/Property/Transaction)
- Long Press on Filter Icon will remove the current filter.
- Detail Screen
- Long Press on Contact Phone Numbers – displays the “Wrap-up” screen that normally happens after a call is completed
- Edit Screen
- Long Press on birthdate – clears the date
- Calendar
- Long Press on Month/Year will reset the view to the current date.
- Long Press – Checklist Date Merge Fields – puts in current date
- List Views (Contact/Property/Transaction)
- Swipe Gestures:
- Swipe Left to Delete Activity
- Swipe Left to Delete Contact
- Swipe Left/Right on Filters to change between filter types
- Tap Gestures:
- Tap on Date to change Date
- Tap on Time to change Time
- Tap on “Group of X Contacts” to select contact to view if > 4 contacts on an Activity.
- Calendar
- Tap on Contact Name to view contact assigned to an Activity.
- Tap on Property/Transaction Address to view.
- Detail Screen (only fields changeable during this view)
- Date/Time